A Jo Loves How-To guide
Discover simple, luxurious ways to get more joy, longevity and creativity from your Jo Loves favourites.
From fragrance layering to candle care, these easy guides help you turn everyday moments into little rituals.
If your perfume smells beautiful when you first apply it but seems to vanish by lunchtime, you’re not alone. A few small tweaks to how, where and when you apply your fragrance can transform how long it lasts.
Why some scents don’t seem to last
There are a few reasons your fragrance might fade more quickly than you’d like:
- Very light, fresh scents naturally sit closer to the skin.
- Dry skin doesn’t hold onto perfume as well as hydrated skin.
- Spraying in the wrong places or rubbing it in can disturb the way it develops.
The good news is that these are all easy to fix.
Step 1 – Prep your canvas
Fragrance loves moisture. Think of your skin as the surface the scent is going to cling to.
- Apply A Body Lotion or A Body Crème first
Smooth an unscented or matching moisturiser over your skin before you spray. Hydrated skin holds onto the fragrance for longer. - Time it right
The best moment is just after a shower or bath, when your skin is clean, warm and slightly damp (but not wet). - Don’t skip your usual skincare
Your daily body care can work hand in hand with your fragrance to keep it present throughout the day.
Step 2 – Apply in the right places
Where you spray your Fragrance changes how it performs.
- Focus on pulse points
Spritz lightly on wrists, neck, inside elbows and behind the knees. These naturally warmer spots help the scent unfold over time. - Consider hair and clothing
A light mist over your hair or onto your clothes can help the fragrance linger, but keep it at a distance and avoid delicate fabrics. Always check care labels and never spray directly onto silk or very light materials. - Avoid rubbing
Let the fragrance dry on your skin. Rubbing your wrists together can break down the top notes too quickly.
Step 3 – Use the right amount
More is not always better. You want a cloud of fragrance around you, not a fog.
- Think in sprays, not clouds
Aim for around 4–6 sprays in total, depending on the strength of the scent and the occasion. - Try a simple pattern
For daytime, try two sprays on the neck, one on each wrist and one behind the knees. For evening, you can add an extra spray to the back of the neck or hairline. - Check in after 10 minutes
Fragrance needs a little time to settle. Wait a few minutes before deciding whether you need more.
Step 4 – Layer for extra staying power
The way you combine your products can make a big difference.
- Start in the shower or bath
Use a matching or complementary Bath & Shower Gel to lay down a whisper of scent. - Add body lotion or a body Crème
Sealing in moisture locks in the fragrance. Matching products create a “scent trail” even before you spray perfume. - Finish with fragrance
Apply your Fragrance on top of your body products to create a subtle yet long‑lasting aura.
If you like, you can also layer two fragrances: a deeper scent as a base, with something brighter or softer over the top for dimension.
Step 5 – Make it last throughout your day
Little habits can help your fragrance stay fresher for longer.
- Carry a travel‑size
Keep A Fragrance Paintbrush or a small Fragrance bottle in your bag for a quick afternoon top‑up. - Store bottles correctly
Keep your fragrances away from direct sunlight, heat and humidity (avoid the bathroom shelf). A cool, dry spot helps preserve their character and strength. - Refresh strategically
Top up gently on your wrists or the back of your neck rather than re‑spraying everywhere.
Bring your scent from morning to evening
With the right prep, application and layering, your Jo Loves fragrance can take you from your first coffee of the day to your final evening plans with just a small refresh in between. Experiment with these steps, notice what works best on your skin and build a simple routine you can repeat every day.
Standing in front of a wall of beautiful bottles and not knowing where to start is a very real feeling. This guide will walk you, step by step, to a Jo Loves fragrance (or three) that feels as if it was made just for you.
What is a “signature scent”?
A signature scent is the fragrance people think of when they think of you. It feels like your personality in perfume form – familiar, comforting and unmistakably yours.
It doesn’t have to be the only fragrance you wear or something you commit to forever. Think of it as your “home base” in the world of scent: the one you always come back to.
Step 1 – Start with your everyday life
Before you smell anything, think about how you actually live.
Ask yourself:
- Where do I spend most of my week?
Office, home, outdoors, travelling? - How do I like to feel most days?
Calm and grounded, bright and energised, cosy and comforted, polished and glamorous? - How bold am I with scent?
Do I prefer a soft, close‑to‑the‑skin veil or something people notice as soon as I walk into a room?
Your answers will guide you towards the right styles and intensities.
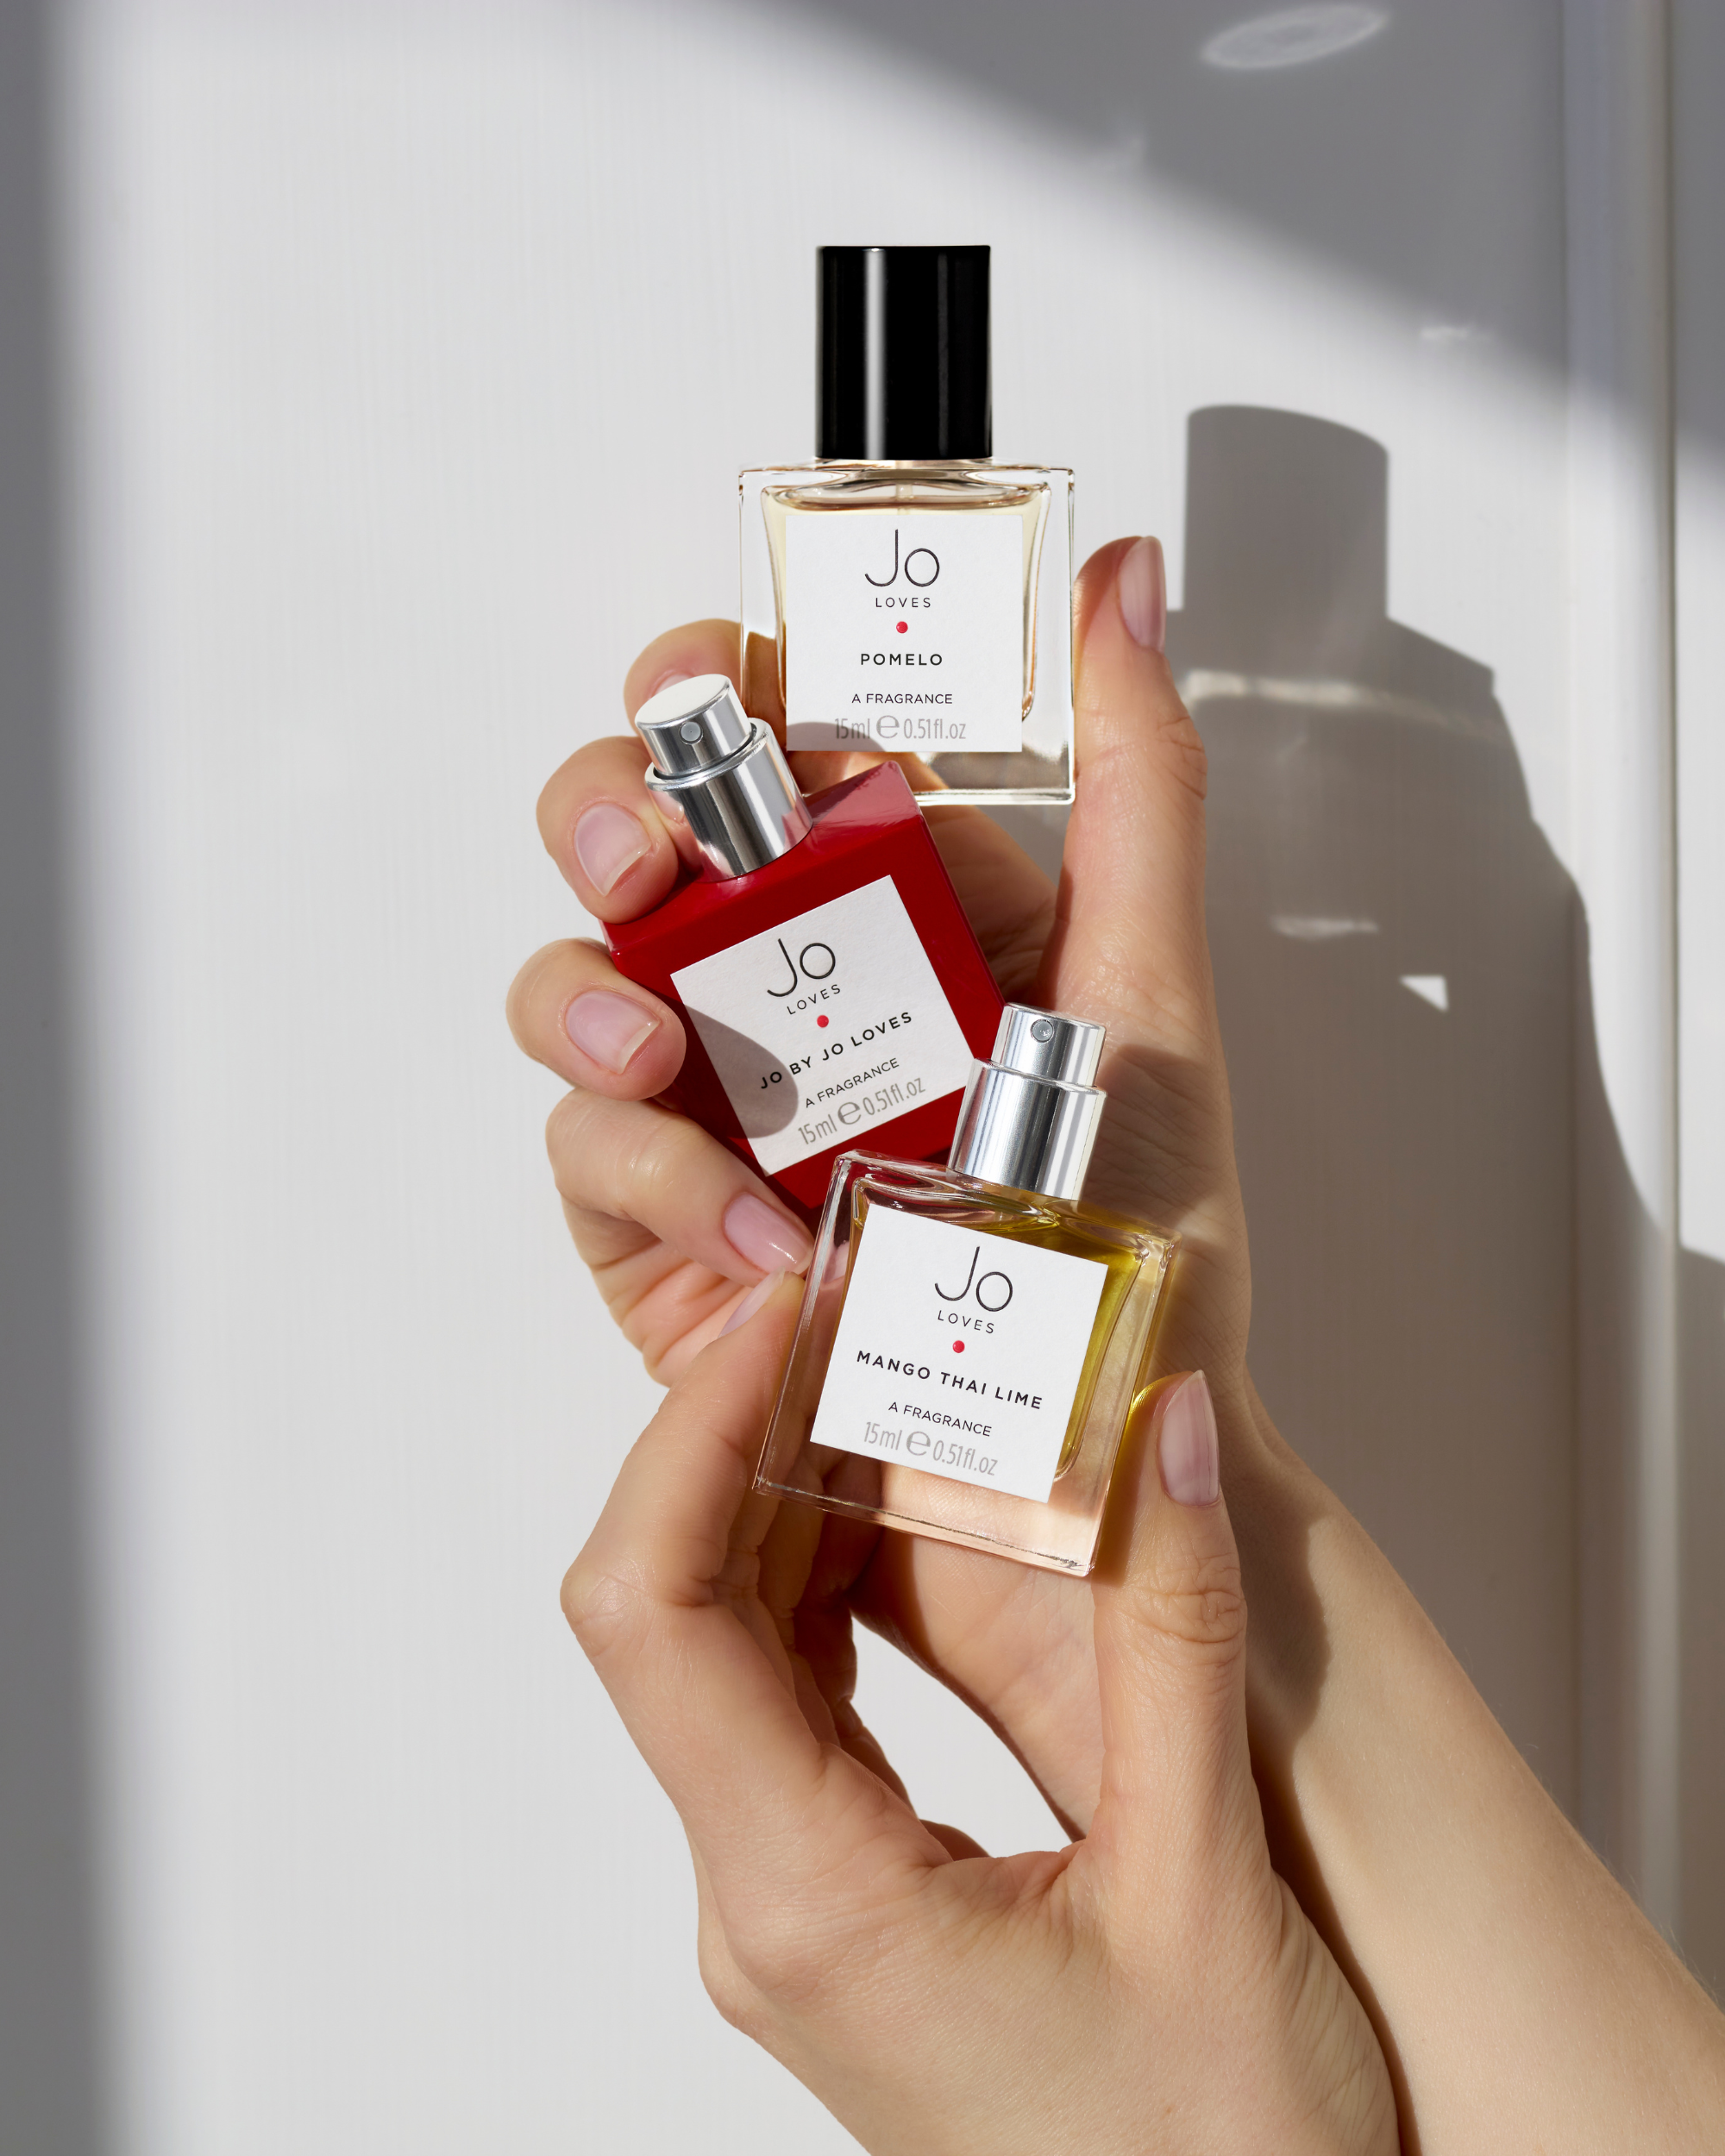
Step 2 – Explore your fragrance “family”
Most of us naturally gravitate toward one or two types of scent, even if we don’t know the names. Here are a few helpful families to consider:
- Citrus
Bright, sparkling and uplifting. You may love these if you enjoy feeling fresh, clean and energised from morning to night. - Floral
From soft and powdery to bold and blooming. Ideal if you love elegance, romance and a touch of femininity. - Woody
Warm, grounding and sophisticated. Perfect if you’re drawn to cosy jumpers, candlelit dinners and a more refined, grown‑up feel. - Gourmand
Creamy, edible notes like vanilla, tonka or subtle sweetness. A great fit if you like comfort, cosiness and scents that feel like a hug.
You don’t need to know all the technical terms – simply notice which descriptions sound like you.
Step 3 – Test properly (without overwhelming your nose)
How you try fragrances matters as much as what you try.
- Start with blotters
Spray a few options on paper first to narrow things down. Hold them at a little distance and breathe in gently. - Limit your choices
Try no more than 3–4 fragrances at a time. More than that and everything can start to smell the same. - Move onto skin
Once you have two favourites, try one on each wrist. Fragrance changes as it warms with your skin, so this step is essential. - Give it time
Smell your wrists again after 10–15 minutes, then after an hour or two. Notice which scent you keep wanting to return to.
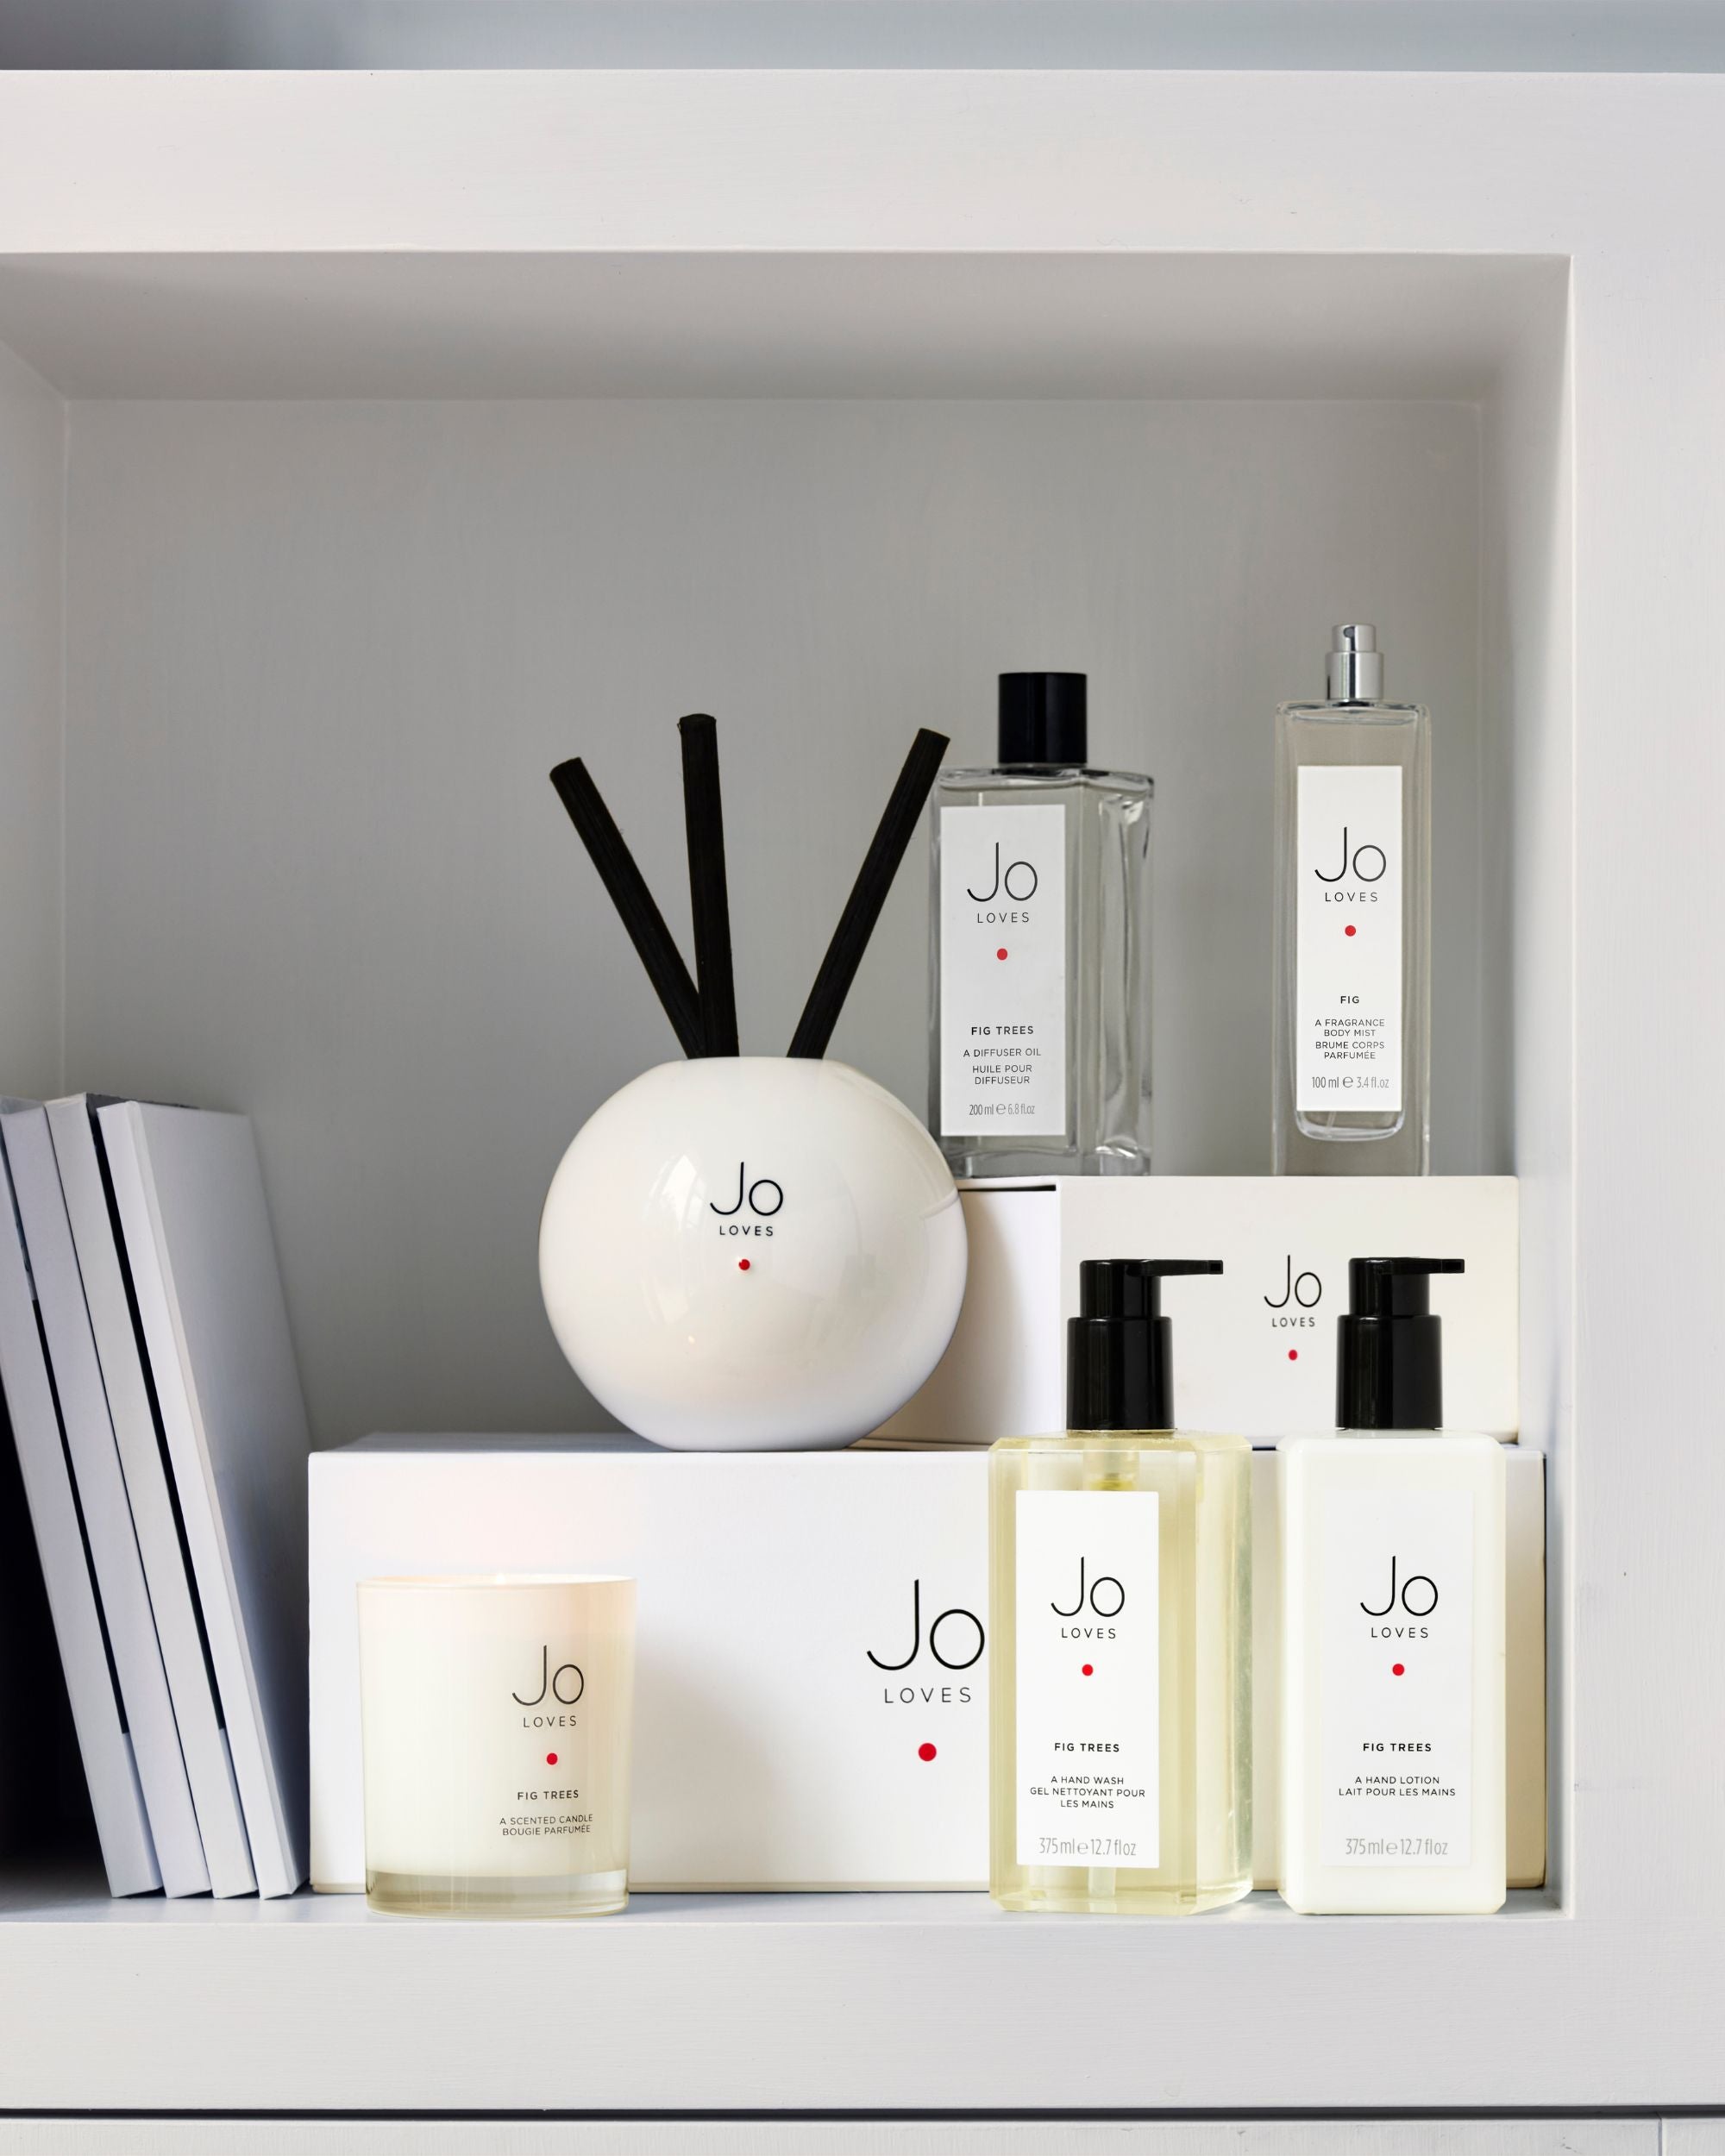
Step 4 – Build a mini wardrobe, not just one scent
Your life has different moods and moments, and your fragrance wardrobe can reflect that.
Consider choosing:
- An everyday scent
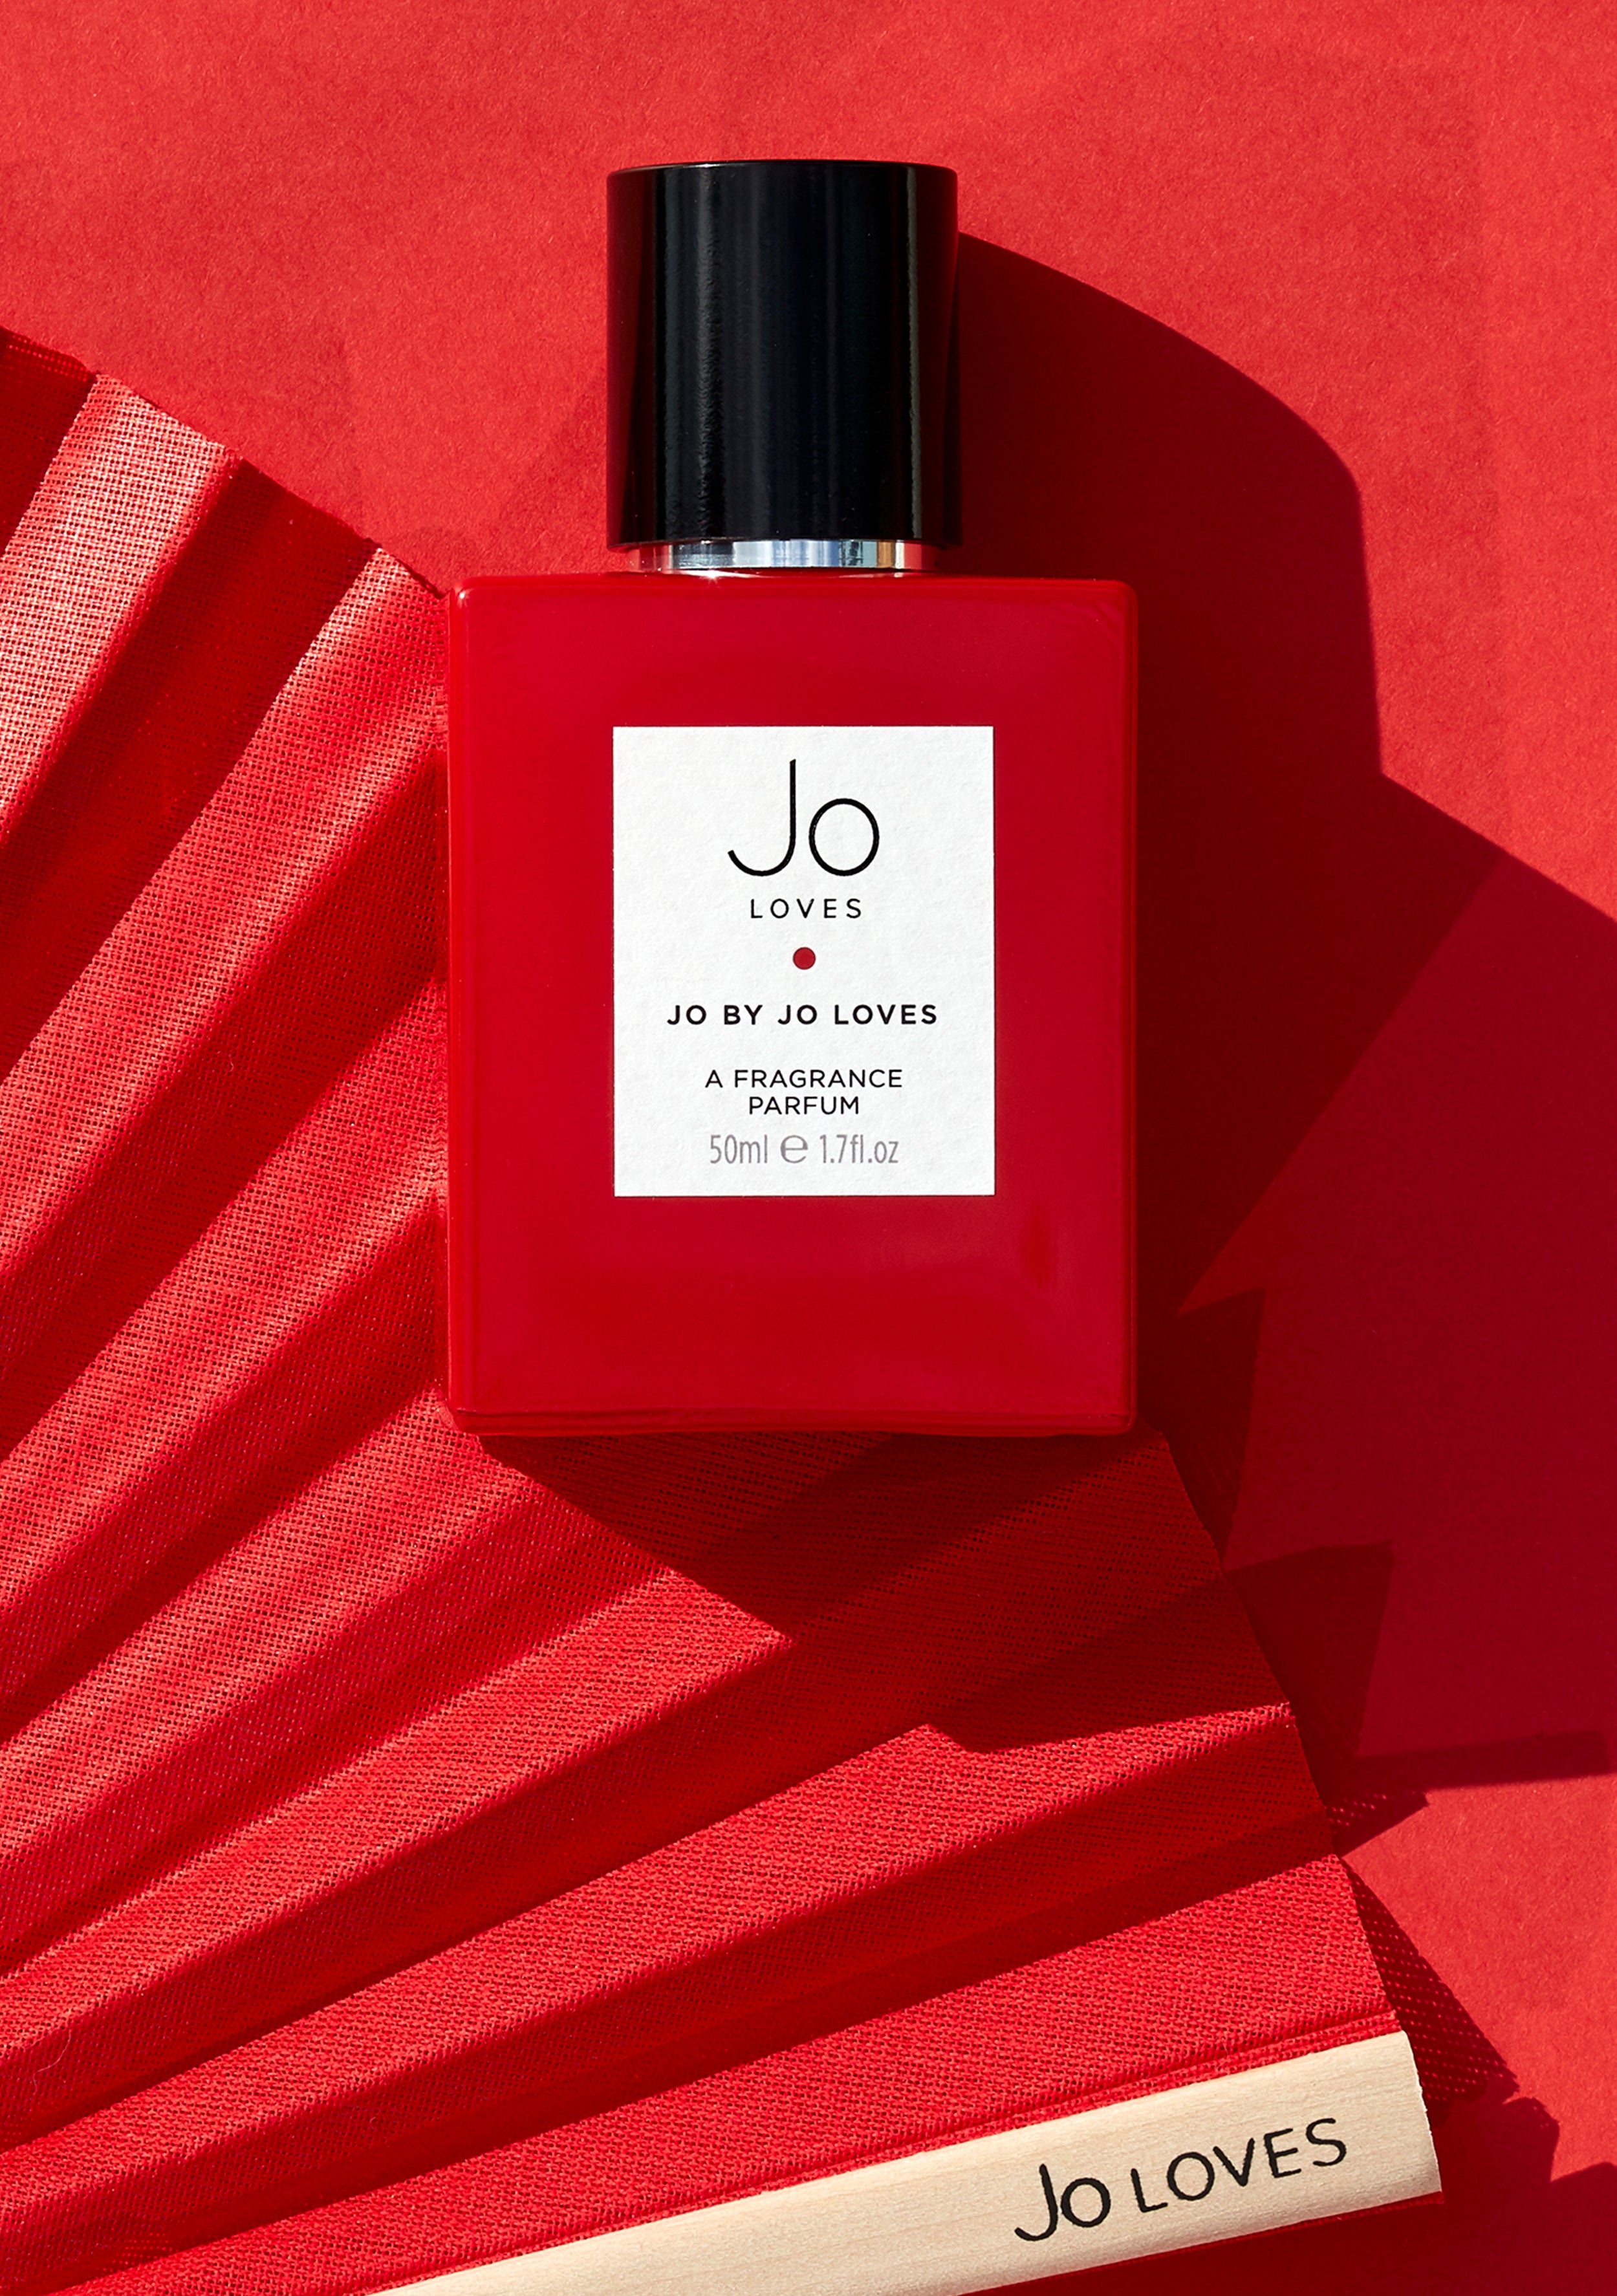
Something easy, uplifting and comfortable for work, errands and all the in‑between moments. - An evening or “statement” scent
Richer, deeper or more memorable, perfect for dinners, dates and special occasions. - A comfort scent
Soft, cosy and intimate, for days off at home, self‑care evenings or whenever you want to feel cocooned.
Your signature doesn’t have to be a single bottle. It can be the thread that connects this small collection: a note you always love, or a particular mood that returns across them all.
Step 5 – Fine‑tune with layering
Once you’ve found a few Jo Loves scents you love, you can adjust them to feel even more personal.
- Add brightness
Layer a citrus or fresh scent on top of something deeper to lift it for daytime. - Add warmth
Layer a woody or creamy scent underneath something light to make it more evening‑ready. - Add softness
Pair a bolder scent with something musky or powdery to make it feel more intimate.
In time, you’ll find combinations that feel so “you” that they become as signature as any single fragrance.
Helpful “if you like X, try Y” ideas
Use your existing preferences as a starting point:
- If you often buy fresh laundry‑style or light “just‑showered” scents, start with brighter, clean Jo Loves creations.
- If you love rich, cosy autumn perfumes, lean into our warmer, woodier and tonka‑touched fragrances.
- If you adore big floral bouquets, explore our more expressive, petal‑forward scents.
- If you don’t usually wear perfume at all, begin with something soft and subtle that you can barely notice on yourself at first.
Ready to meet your Jo Loves signature?
Take your time, trust your nose and notice which fragrances you instinctively reach for again and again – then let our Scent Finder quiz turn your answers into a personalised shortlist and bespoke layering ideas.
Your Paintbrush is designed to be refilled and reused, so you can enjoy your favourite Jo Loves fragrances again and again. Follow these simple steps to change your cartridge cleanly and safely at home.
Step‑by‑step instructions
1. Prepare your space
Choose a clean, dry surface with good light. Have a tissue or soft cloth nearby in case of any drips. Make sure your hands are clean and dry.
2. Remove the cap
Gently pull off the cap of your Paintbrush and set it aside. Avoid touching the bristles at this stage to keep them in good condition.
3. Twist to unlock
Hold the Paintbrush by the main body and twist the base in the direction shown on the pack (usually anti‑clockwise) to release the cartridge. You’ll feel a soft click when it unlocks.
4. Slide out the empty cartridge
Carefully pull the used cartridge out of the barrel. If there’s any remaining gel, keep the cartridge upright and place it on a tissue until you’re ready to dispose of it according to your local recycling and waste guidelines.
5. Unwrap your new cartridge
Remove the new cartridge from its packaging. Keep it upright so the gel stays where it should. Avoid squeezing or pressing the sides.
6. Insert the new cartridge
Gently slide the new cartridge into the Paintbrush barrel until it sits comfortably in place. Don’t force it – it should glide in smoothly.
7. Twist to lock
Twist the base in the opposite direction (usually clockwise) until you feel it click and lock. This connects the cartridge to the mechanism that pushes the gel through to the brush.
8. Prime the brush
Turn the base slowly a few clicks until a small amount of gel appears at the tip of the brush. A little goes a long way. Once you see the gel, stop twisting.
9. Replace the cap
Pop the cap back on securely to protect the bristles and keep your fragrance fresh between uses.
Tips for getting the best from your Paintbrush
- Store it upright or lying flat in a cool, dry place away from direct sunlight.
- Twist the base slowly – it’s easier to add more gel than to put it back.
- Wipe any excess gel from the brush with a tissue and recap after each use.
- Don’t rinse the brush under water, as this can damage the mechanism and dilute the fragrance.
A little care goes a long way to help your Jo Loves candle burn beautifully from the first light to the last. These simple steps will give you a cleaner, longer‑lasting and more fragrant burn every time.
Before you light: first‑burn rules
Let the first burn set the memory
- On the very first light, let your candle burn until the entire surface has melted from edge to edge.
- This can take 2–4 hours depending on the size of your candle.
- This “memory burn” helps prevent tunnelling and keeps the wax level even.
Trim the wick
- Before each burn, trim the wick to around 5 mm.
- Use a wick trimmer or small scissors and remove any loose pieces from the wax.
- A shorter wick means a cleaner flame with less smoke and soot.
While the candle is burning
Choose the right spot
- Place your candle on a heat‑resistant surface.
- Keep it away from draughts, open windows, fans and air vents to prevent uneven burning.
- Always keep candles out of reach of children and pets and away from curtains or anything that could catch.
Watch the burn time
- Aim to burn your candle for a minimum of 2 hours (to reach a full melt pool) and a maximum of around 4 hours at a time.
- Longer burns can make the candle overheat, which may affect both the scent and the glass.
Enjoy the scent safely
- Never leave a burning candle unattended.
- Don’t move the candle while the wax is liquid or while the flame is still lit.
After you blow it out
Extinguish gently
- Snuff the flame or blow it out softly to avoid splashing wax.
- Let the wax cool and reset completely before touching or moving the candle.
Re‑centre the wick
- While the wax is still soft but not hot, gently nudge the wick back toward the centre with a wick dipper or similar tool.
- This helps the candle burn evenly next time.
Protect the scent
- Once the wax is fully cool, place the lid back on (if your candle has one) or cover it lightly to keep dust away and protect the fragrance.
Keeping your candle looking beautiful
- Wipe any soot or marks from the inside of the glass with a soft, dry cloth once the candle is completely cool.
- Don’t use harsh cleaning products inside the vessel.
- Stop using the candle when around 1 cm of wax remains at the bottom to protect the surface beneath.
Reusing your candle glass
When your candle has finished, you can give the glass a new life:
- Allow the remaining wax to cool completely.
- Gently remove leftover wax and the wick sustainer.
- Wipe the inside with warm, soapy water and dry thoroughly.
Use your clean glass to store brushes, cotton pads, pencils or small keepsakes.
Free Standard Delivery
Enjoy complimentary delivery on UK orders over £70
Sign up to our newsletter to receive a free gift on your first order over £80
Complimentary Samples
Receive two complimentary samples with every purchase*
Easy Returns
Enjoy hassle-free returns with our easy return policy
Change Store?
When switching countries your shopping bag will be emptied.
Are you sure you want to proceed?
How Can We Help?
Chat With Us
Live Chat
09:30-17:30 (GMT), Monday to Friday, with the exception of UK Bank Holidays.
Email Us
Contact Us
09:30-17:30 (GMT), Monday to Friday, with the exception of UK Bank Holidays.
WhatsApp Us
WhatsApp link
09:30-17:30 (GMT), Monday to Friday, with the exception of UK Bank Holidays.